Vodia allows for fairly simple configuration of SIP trunks within its web interface. Vodia does not contain a built in template to allow for easy configuration, but following the steps below should get your trunk up and working.
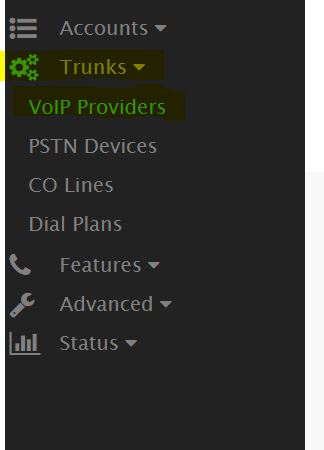
1) Navigate to the domain you will be configuring your trunk under. In here we will be going to Trunks --> VoIP Providers as pictured below.
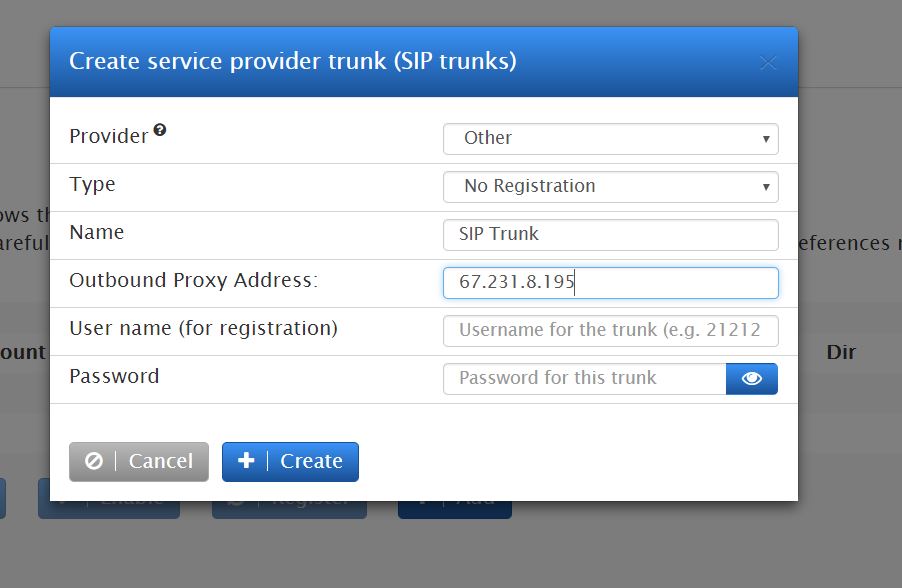
2) Click on the add trunk button, we will be selecting other for the provider and selecting no registration for its type. The name can be whatever is desired to be able to know which trunk this is. Finally set the outbound proxy address to 67.231.8.195. This can also be set to 67.231.4.195 which is the alternative SIP signaling address for Bandwidth. Finally hit create and once up we will want to navigate within to adjust some additional settings.
3) The main point of reference here are the Custom Headers I had set up to get the SIP caller-id presentation proper so Bandwidth would accept the outbound call. This is pictured below. Now there are many variables that can be entered within, however for this trunk I set the desired outbound caller ID statically as shown. Please reference this article available from Vodia, for a list of custom header values that can be entered. https://doc.vodia.com/trunk_custom_headers

4) Next we will want to ensure our codec support is correct. Bandwidth supports G711U/A and G729. Please ensure these are enabled and active as shown below. Once complete save your changes.

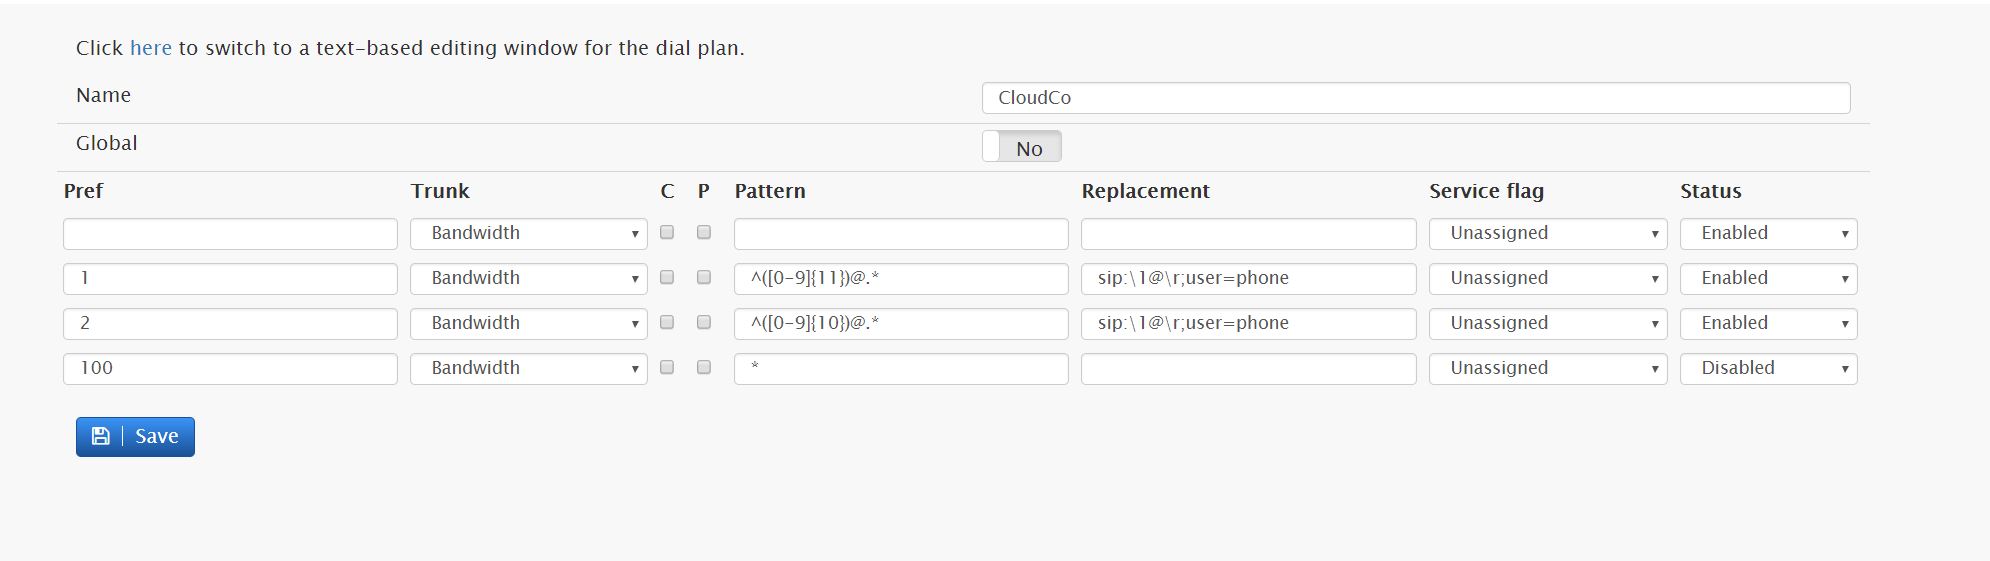
5) Proceed to Trunks --> Dial Plans and click add. I setup a very simple dial plan that allows for 10-digit and 11-digit dialing as pictured below. For more information on custom dial plans, please reference the following article from Vodia. https://doc.vodia.com/domain_dialplans
6) Finally, we will need to get our DID's setup to route calls. This is handled at the root level in Vodia. Please back out of your domain and navigate to Domains --> DID Management. Here we will need to click add DID and select the correct domain from the list. Finally define your DID in 10-digit format and select the account to route to.

7) With these steps complete, calls should route inbound, and simple 10 and 11 digit calls should route outbound. A base caller-ID should also be presented system wide. If additional tweaks or assistance is needed, please reference the mentioned Vodia knowledgebase articles or submit a support ticket in the CloudCo Partner ticket center.
Steve Stoveld
Comments
Josh
Looks like this page needs updating. Under trunks, you no longer see VOIP Providers. I see DID Management, SIP Trunks, CO Lines and Dial Plans. Thanks.